Hi, I’m Jimmy, a tech specialist who helps people fix everyday computer problems. If your Windows PC feels messy or slow, a safe cleanup can make a big difference.
Quick Answer
You can clean up Windows safely by removing temporary files, uninstalling unused programs, and using built-in Windows tools like Disk Cleanup and Storage settings.
You do not need risky software or complicated tweaks.
Most cleanup can be done with tools already inside Windows.
Cleaning up Windows safely helps remove junk files, free disk space, and keep your computer running smoothly.
Table of Contents
Common Causes
Computers get cluttered over time. This happens to everyone.
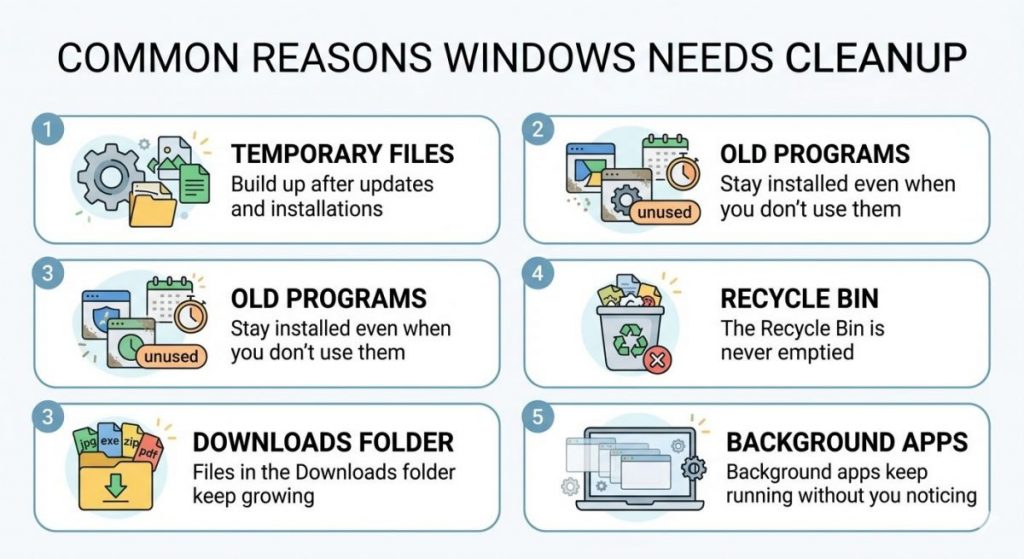
Here are the most common reasons Windows needs cleanup:
- Temporary files build up after updates and installations
- Old programs stay installed even when you don’t use them
- Files in the Downloads folder keep growing
- The Recycle Bin is never emptied
- Background apps keep running without you noticing
None of this means your computer is broken. It just means Windows needs a little housekeeping.
Step 1 — Use Windows Storage Cleanup
Windows has a built-in cleanup tool that is safe to use.
- Click the Start button
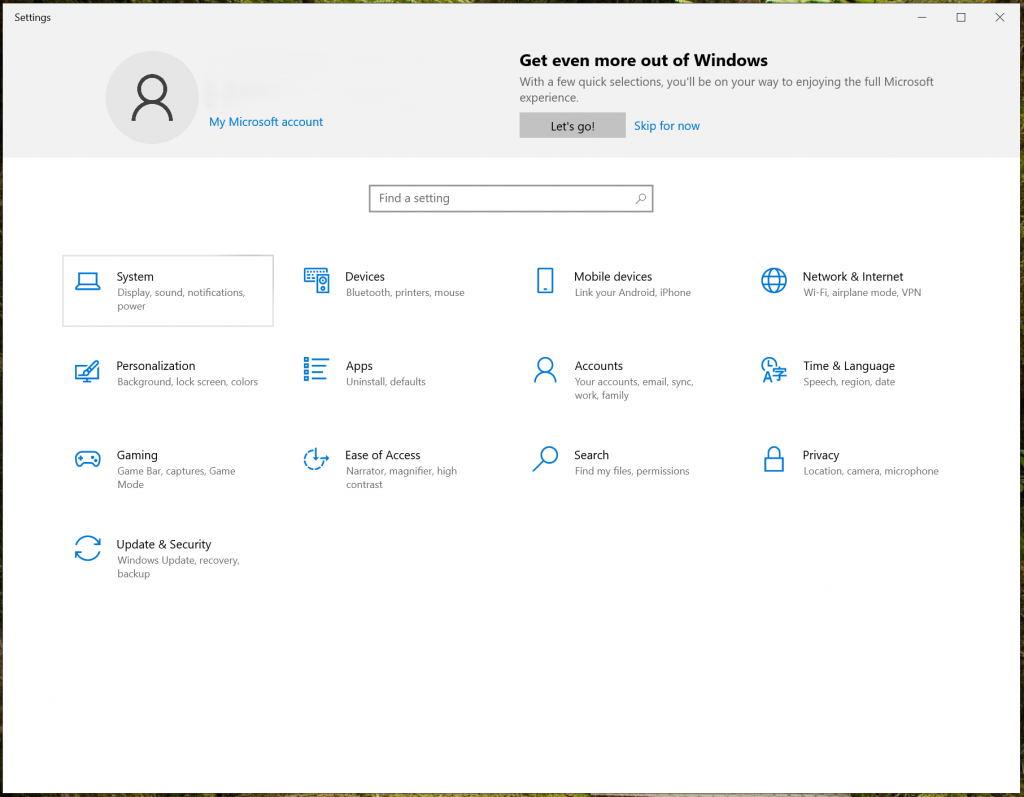
- Open Settings
- Click System
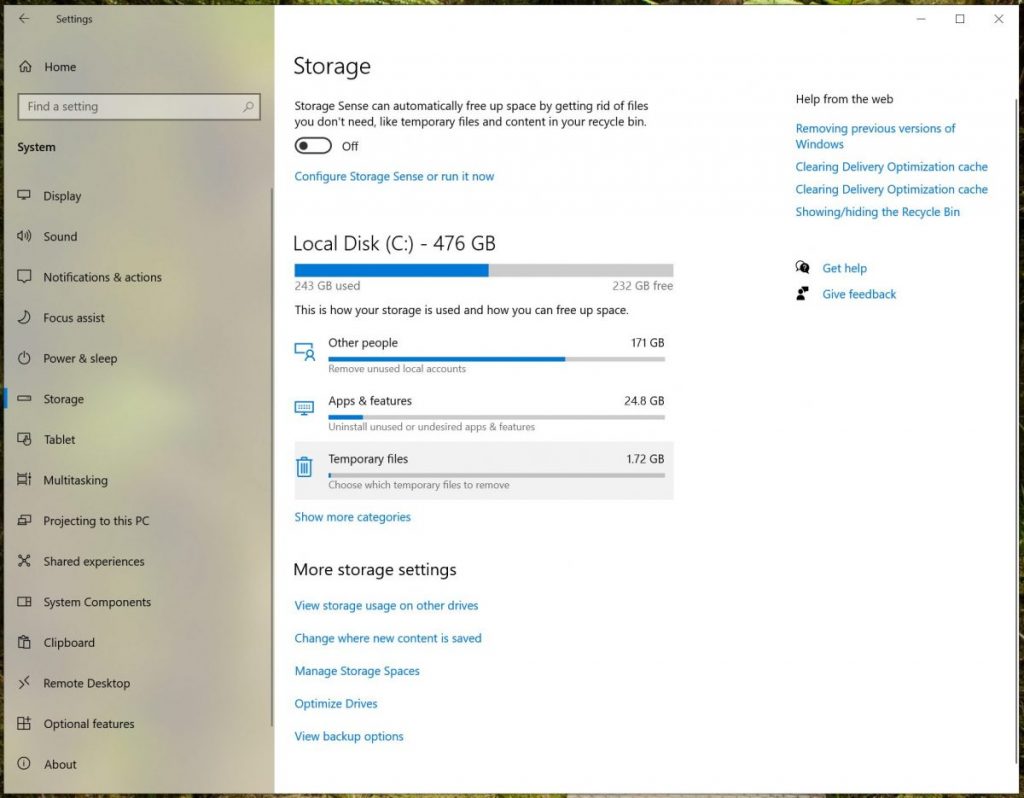
- Click Storage
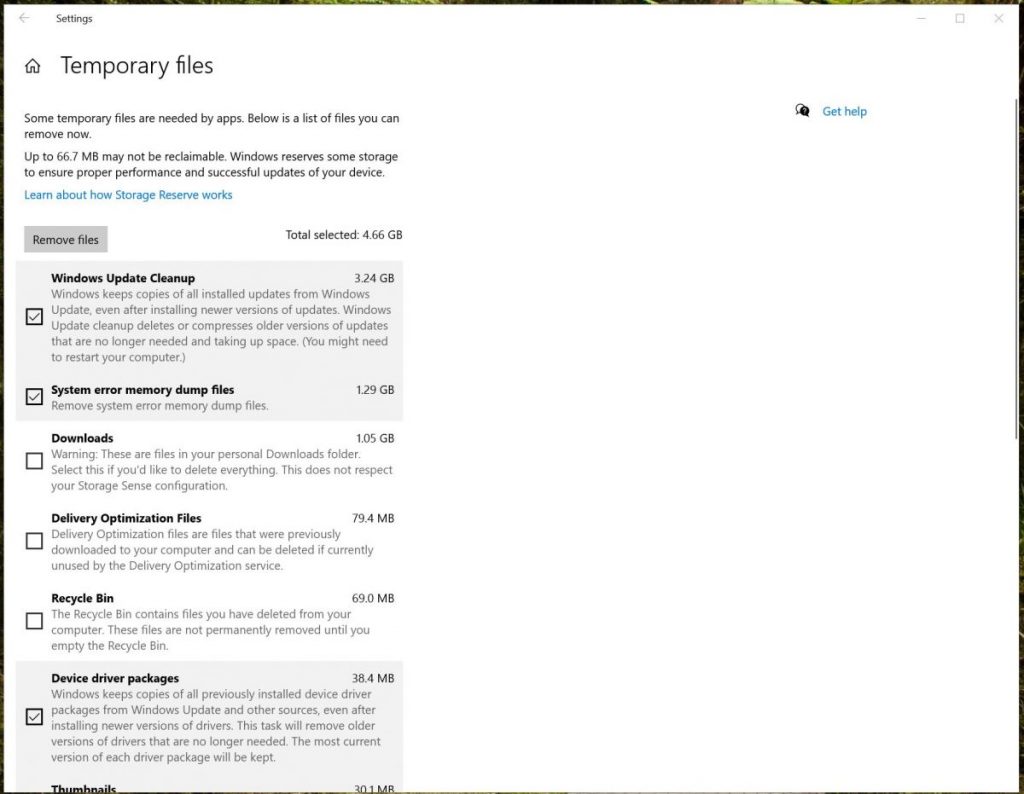
- Click Temporary files
- Select the files you want to remove
- Click Remove files
These files are safe to delete. They are only leftovers.
Pro Tip
I usually clean temporary files after big Windows updates. They can take a lot of space.
You can also read the official Microsoft guide about Disk Cleanup on the Microsoft website.
Step 2 — Empty the Recycle Bin
Files in the Recycle Bin still use disk space.
- Right-click the Recycle Bin
- Click Empty Recycle Bin
- Confirm
This is one of the simplest ways to free space.
Safety Note
Make sure you do not need the files before emptying the bin.
Step 3 — Remove Programs You Don’t Use
Many computers have old programs that nobody uses anymore.
- Click Start
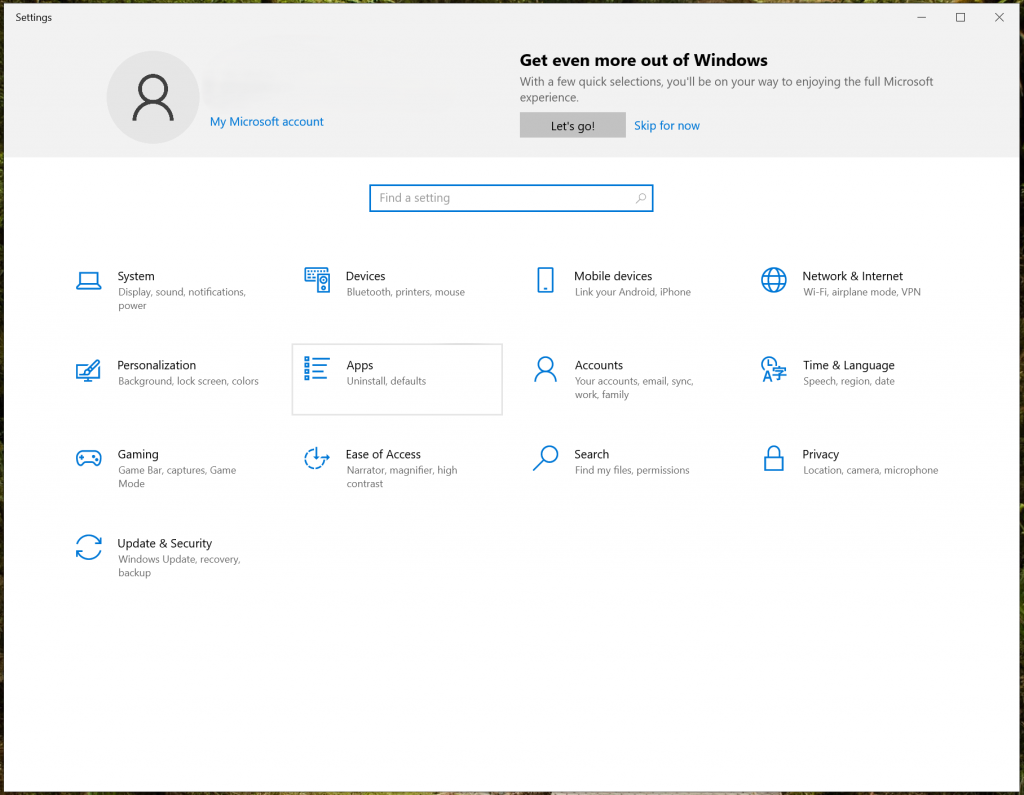
- Open Settings
- Go to Apps
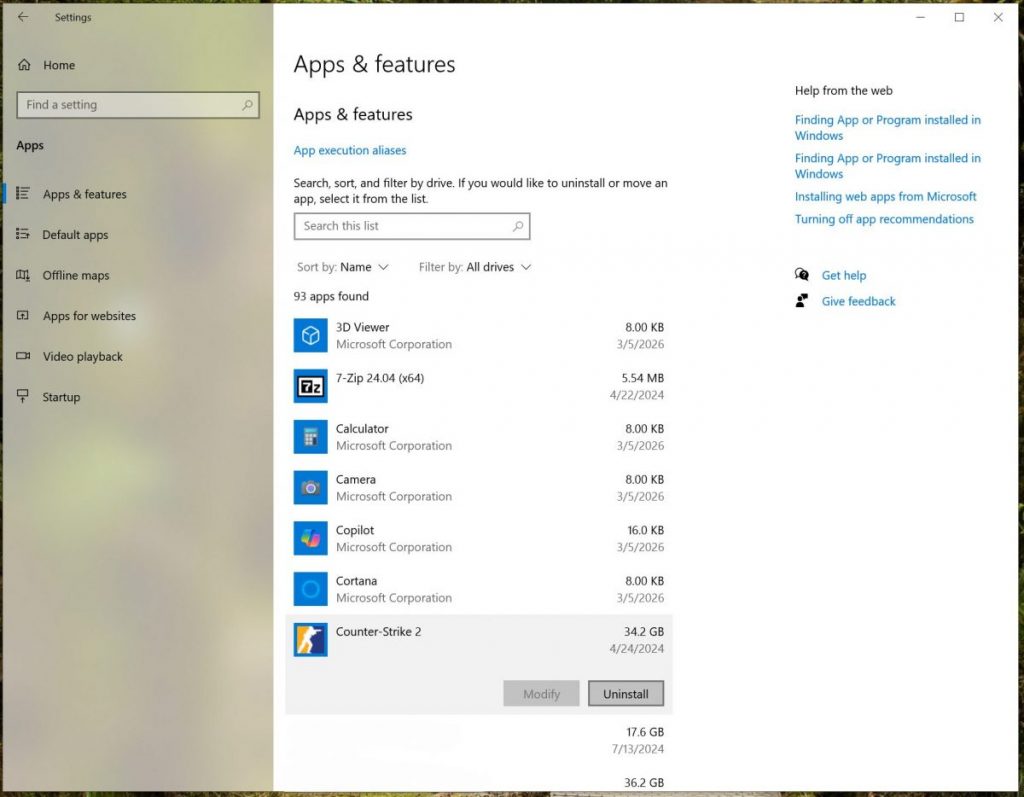
- Click Installed apps
- Find programs you don’t need
- Click the three dots → Uninstall
If you do not recognize a program, do not remove it right away.
Search its name first.
I see people remove drivers by mistake sometimes.
That can cause new problems.
Step 4 — Clean the Downloads Folder
The Downloads folder often becomes the biggest mess.
- Open File Explorer
- Click Downloads
- Delete files you no longer need
Old installers, videos, and zip files can take a lot of space.
Real-world note
On many PCs I fix, the Downloads folder is bigger than everything else combined.

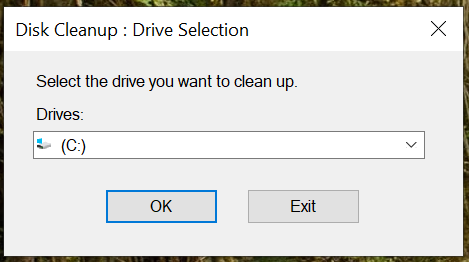
Step 5 — Use the Classic Disk Cleanup Tool
Windows still has the classic Disk Cleanup tool, and I have been using it for many years.
It may look old, but it is safe and works very well.
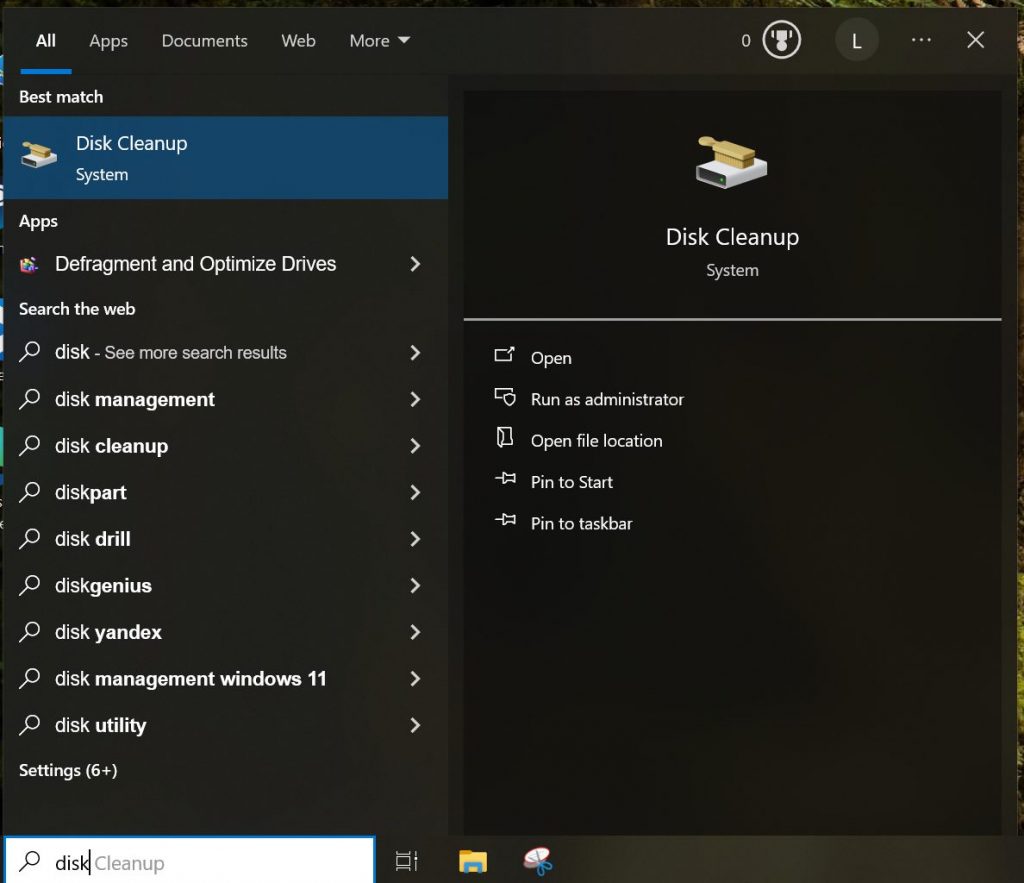
- Click the search box at the bottom of the screen
- Type Disk Cleanup
- Open the app
- Select your main drive (usually C:)
- Click OK
You will see a list of files that can be removed.
It is usually safe to select most items, but pay attention to:
- Temporary Files
- Recycle Bin
- Thumbnails
- Windows Update Cleanup
Click OK, then click Delete Files.
Pro Tip
This tool often finds files that the normal Storage cleanup does not show.

Final Thoughts
Windows gets cluttered over time, and that is completely normal. If you clean up Windows safely on a regular basis, your PC will stay faster and more stable.
With a few safe cleanup steps, your computer can feel faster and easier to use again.
If your computer is still running slow after cleanup, the problem may not only be junk files.
You can read my guide here: How to Speed Up a Slow Windows PC.

I’m a computer technician who helps people fix everyday Windows problems, driver issues, and device errors.I focus on simple step-by-step solutions designed for beginners and people who are not very confident with computers.My goal is to make computer troubleshooting clear, practical, and easy for everyone.